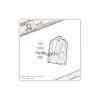
Hello there I'm here today with 2 cards featuring a Wild Rose Studio stamp from their latest release. They are both the same stamp, 1 has been coloured with Distress Inks & the other has been coloured with Copics.
I made this card 2 weeks ago & meant to show it to you last week but forgot lol.

Paper are Pion Design 'Songbird's Secret' & I've machine stitched all around them.

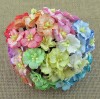
All the flowers except the small roses & the buds I've made from Foamiran. The centre flower I have coloured using Oil Pastels......I cant remember what colours, I know I used 3 lol.
The smaller ones down here are made using Ivory Foamiran & the inners are Yellow Foamiran.

The stamp is called 'Bunny With Teddy' & is perfect for soooo many occasions, here I've used Bunny for Friendship, he could be used for Get well. Sending Hugs, Easter....so so many.
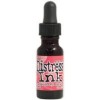
This one I coloured with distress ink refills, I also added stardust stickles to the inner of the ears, nose & the white stripes on the jumper.
I then fussy cut Bunny out, popped onto foam pads & stuck onto this postcard which is from Pion Design.
The sentiment is from Little Darlings sentiment stamp.

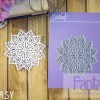
I've also added lace & a Joy Crafts die to the top & bottom of the postcard. The top left corner I've used the new Fantasy die & cut it out of the reverse of Memory Notes.
The smaller sentiment is a Magnolis stamp with a Little Darlings sentiment stamped onto it.

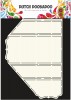
For this card I have also used Pion Design papers but these are from Scent Of Lavender. For the shape I've used a Dutch Doobadoo Card Art template.

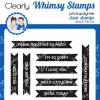
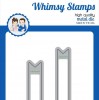
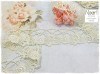
I've added gorgeous lace with pearls along each side & then also cut a single flower & leaf from the Rosy Leaf lace. Sentiment is from Whimsy & I've used the co-ordinating die to cut it out.

I've agina used Bunny With Teddy but coloured this one with copics, added stardust stickles to inner ears, paper pieced the top & added pearl dots for the nose & around the image.
I then fussy cut it out & stuck her onto a piece of Pion paper cut out using Little Darlings Gilded Oval die.
This was coloured a week ago & I actually wrote the colours down....yay me lol.
W7, W5, W3, W1, W0 & Grey prisma pencils - Bunny
E39, E37, E35, E33, E31 - Teddy

I've matched this side up with the left side & again used a Whimsy sentiment.

The centre flower at the top I made from Foamiran & added a pearl to the centre.
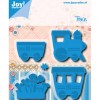
On the inner panels I added Joy Crafts die-cuts, the bottom one is actually from the Joy Crafts Train die & I cut it from Pion paper. I also did the same to the bracket dies at the top & then cut a bit of pearl to add to the centre of the point.
Thats it from me why not pop along to Noor Design UK & look at the totally yummy stuff Tracy has recently added to the store, including new Fantasy dies....sooooo yummy ;-)
Thanks for stopping by, lotsa hugs
Vicky xxx