My Lovely Friends

Tuesday, 12 May 2015

From Me To You With Love

Hello everyone, how are you all. Well my kitchen is nearly done, its just a few finsihing touches then I need decorate...... I HATE painting ceilings so any offers??? Lots of tea/coffee & I will bake cakes & biscuits to your hearts content ;-) I have to say we are quite proud as we have done everything ourselves, designing building, retiling........the whole thing.

Anyhoo's I'm babbling again, I thought today I would share a card I made just for fun......well it started off for a DT but I didnt finish it in time & that was about 2 months ago lol. Well I had a wee bit of time last night so I put the finishing touches to it & thought I would show you.
I did the base of the card by using lots of layers, distressing, inking & just making it all..........well shabby lol.
However I wasnt sure at the time what I was going to put on it & tbh if I did think of something I cant remember what it would have been lol.
I wanted keep it soft, shabby & in the colours of creams & greens..........not a colour scheme I use often. Although my nan loved Green, well a soft minty green.
So last night I went into my little hobbit & sat & looked at it..........all the lace was on, the stitching, the doily.....basically the whole base was done & it just needed a topping..........you know like the icing on the cake ;-)
I fiddled with vintage images but nothing seemed to spark anything.........so I thought why not just put flowers there in kinda a bouquet sorta thing.......... You know what I mean..........dont you??
Most of the flowers are from Live & Love Crafts & yes there are Pomegrantae Apples as well........no I dont need any kind of help for my addiction ;-)
The large one in the centre is covered with Glamour Dust so sparkles beautifully.

After I had finished I decided a couple of die-cuts would maybe look nice. So we have a Magnolia Doo-Hickey Butterfly with pearls in the centre. The Lantern Die is from Noor Design UK here.
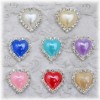
There is also a Bark Heart in there with a heart shaped pearl on from my stash.

The sentiment is from LOTV 'Handwritten Phrases' set, I stamped it with cocoa memento onto some of the same paper & made a banner.
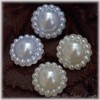
The scalloped pearls are from LLC. You can also see a Clay Heart in amongst the flowers which is also from LLC.

Of course inside is decorated to compliment the front.
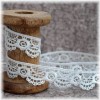
The uber gorgeous papers I've used are Pion Vintage Wedding, I will try remember which ones I've used.... 'White Flowers 12x12', 'Roses 12x12' both sides, 'Wedding Bells 12x12', 'Images 12x12' the opposite side...........I think them are all the ones I've used lol. Lots of layers on this & 4 different types of lace as well as Cheese Cloth all from Live & Love Crafts.
The edging is done with my MS PATP set on Ivory card.

Well that's it from me lovelies, its lovely & sunny here & while I do have lots of gardening to do I really must carry on with this kitchen. Its lovely & clean now so that makes me soooooooo much happier lol. I spent all of sunday scrubbing & sorting as my family were coming for tea & well couldnt have them sitting in mess ;-)

Take care, thank you so much for stopping by it means a lot mmwah.
Lotsa hugs Vicky xxxx

Edited to add......I will be adding a For Sale page to my blog either today or tomorrow as I'm selling a lot of my crafty stuff as I'm downsizing. So keep your eye out peeps for a bargain or 2 ;-)


Saturday, 9 May 2015

Live & Love Crafts DT Card - Precious Littel Darling

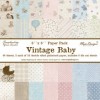
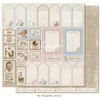
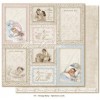
Helloooooo everyone, how are you all? I'm here today with my Live & Love Crafts DT Card, using the uber delicious new Maja Design 'Vintage Baby' papers.......... OMWord these are so so gorgeous & maybe my favourite as they are perfect for much more than just baby......now that's a collection, one that can be used for so many occasions ;-)

I made this card in the week & meant to schedule as I had the doctors this morning but then forgot :-(
Now I have so many baby images, my faves are LOTV, Magnolia & La La Land brought out 2 fabulous baby images..........so what do I choose???
.......yep I cheated & used pieces from the gorgeous collection instead. However I did make more than one baby card, all not finished though lol. So I will be using all my fave images at some point lol.
For this card I used the 6x6 Maja Design Vintage Baby Pad, inked all the edges with Pumice Stone distress ink & machine stitched all layers.

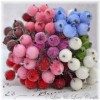
I made a bow with the beautiful Organza Ribbon Sandy has in her store & added some Pomegranate Apples underneath........I think I'm addicted to these things lol........but they are so priddy ;-)

Inside was done to match the front. The edge is a Magnolia Doo-Hickey die. The centre will have white card added to it to write on I just havn't added that yet.

So the image I cut from the 'Vintage Baby Emphemera Cards 12x12 sheet', I distressed the edges just very slightly with the Tim Holtz tooly thing, inked it & added it to blue card, sewn around the edge, then added it to fine corrugated card which got the gesso treatment first.
I cut a tag from the Vintage Baby Die Cuts 12x12 sheet & added a Boy Stamp from the 6x6 pad, distressed the edges & inked them. I cut Baby Boy from the Die Cuts sheet.
At the top I added scarps of lace, shabby seam binding & hung a gorgeous little Dummy Charm.
Oh also added a fab spoon which I've had for soooo long lol......

Of course no card is complete without beautiful lace & Sandy stocks the most gorgeous lace, I have used 2 here. There is also a doily under there. of course there has to be flowers...... I think even though its for a boy, a Baby Boy card is one you can definately get away with putting flowers on ;-)

Okie dokie, that's it form me today. Its normally family day but my family have all gone down Yorkshire for the Summer Madness Fundraiser. Summer Madness is for car enthusiasts but they raise a lot of money for charities & stuff as well. So we are getting more DIY done in the kitchen, as its just me, hubster & Natalie..........who is currently watch Disney's Tangled lol.

Enjoy your weekend lovelies, thanks for stopping by. Sorry I've babbled a bit lol........maybe you deserve a good shopping trip now over at Live & Love Crafts ;-)
Lotsa hugs Vicky xxx


Thursday, 7 May 2015

Noor Design UK DT Creation - Arjay's Bedroom

Hello everyone I'm here today with my DT Creation for the Noor Design UK blog.
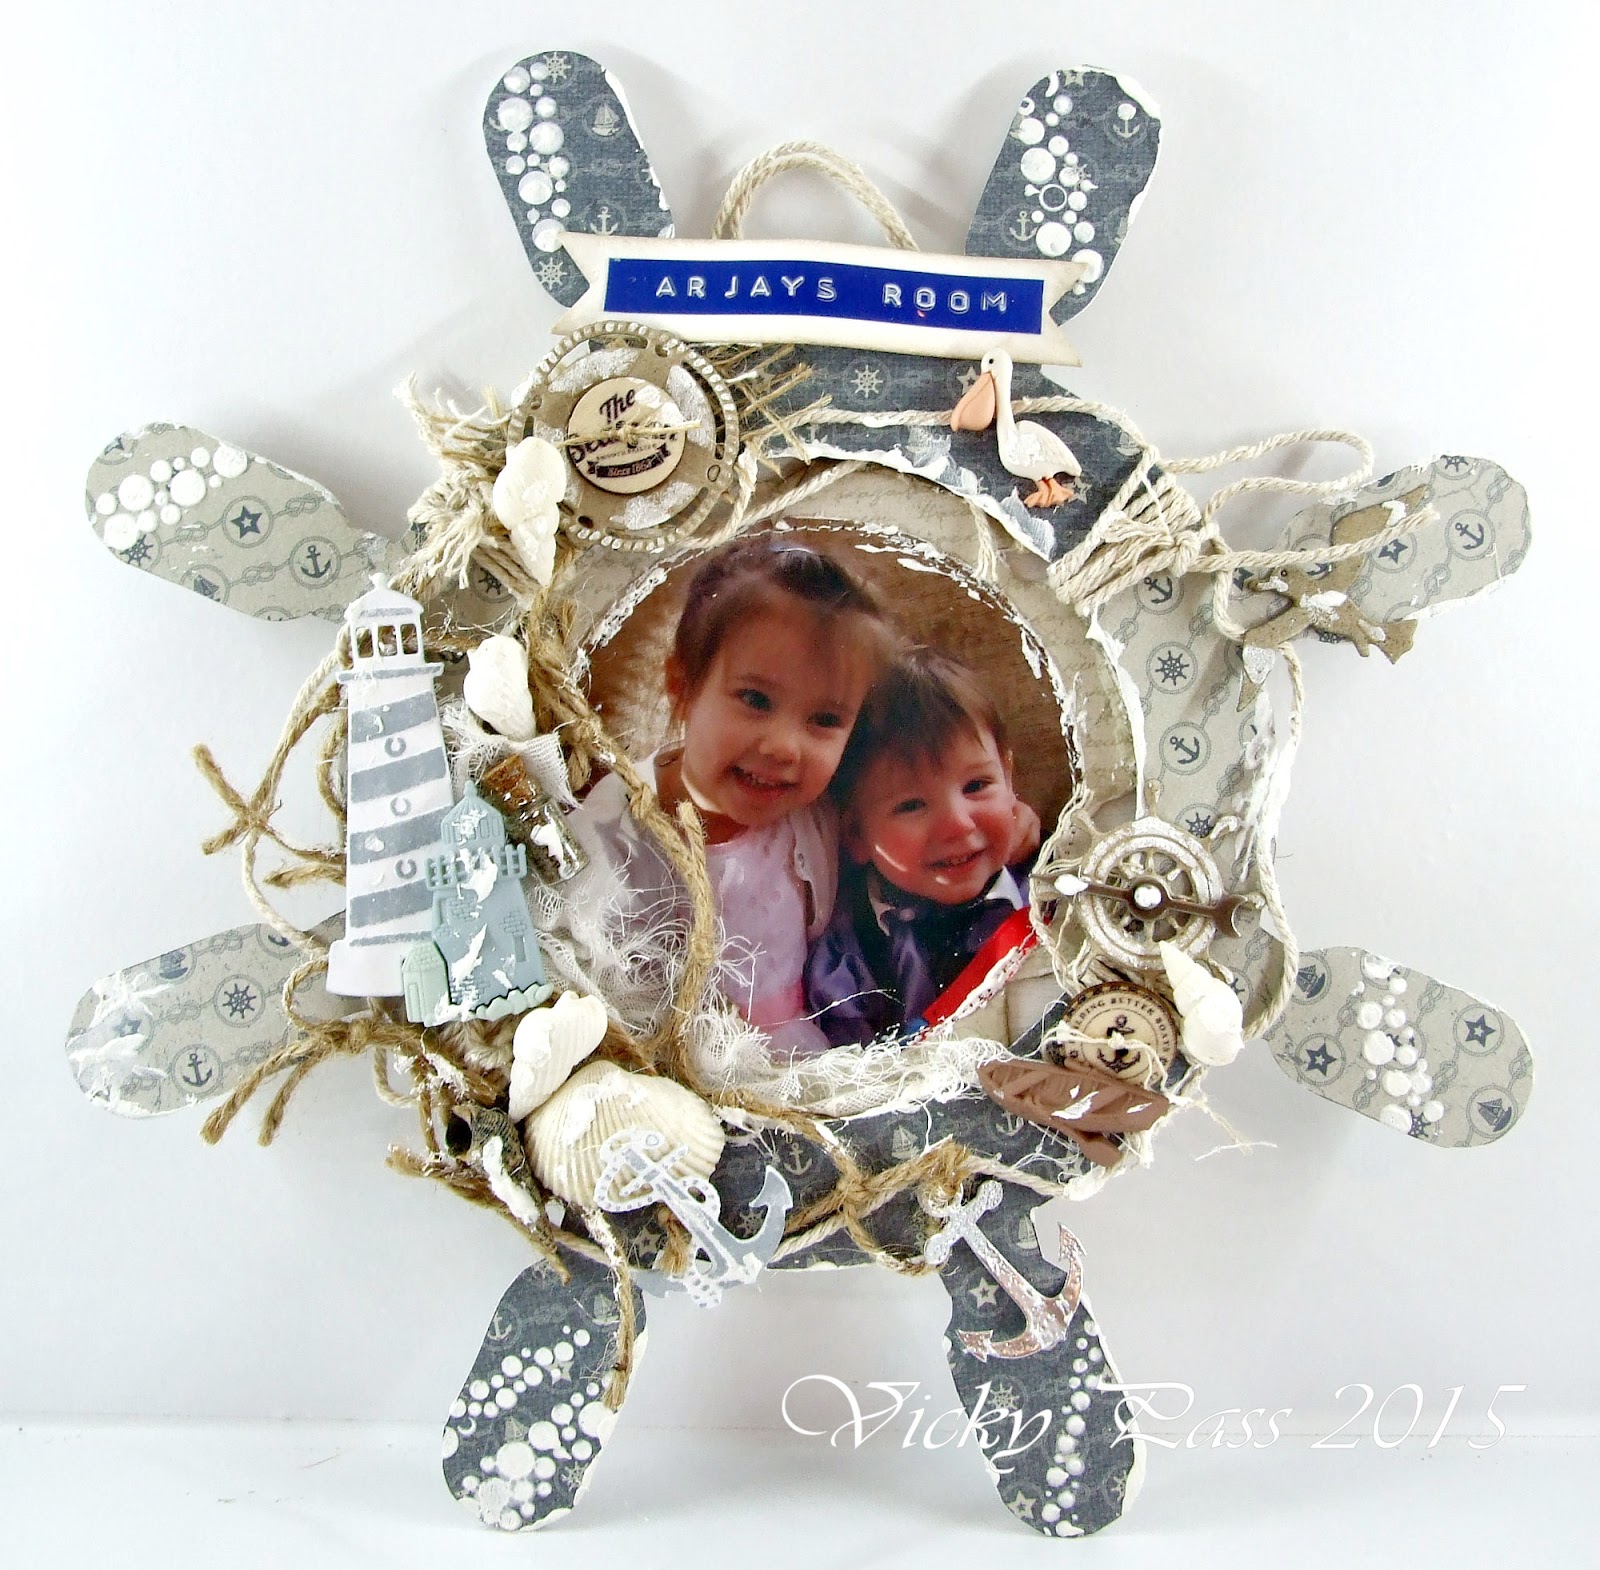
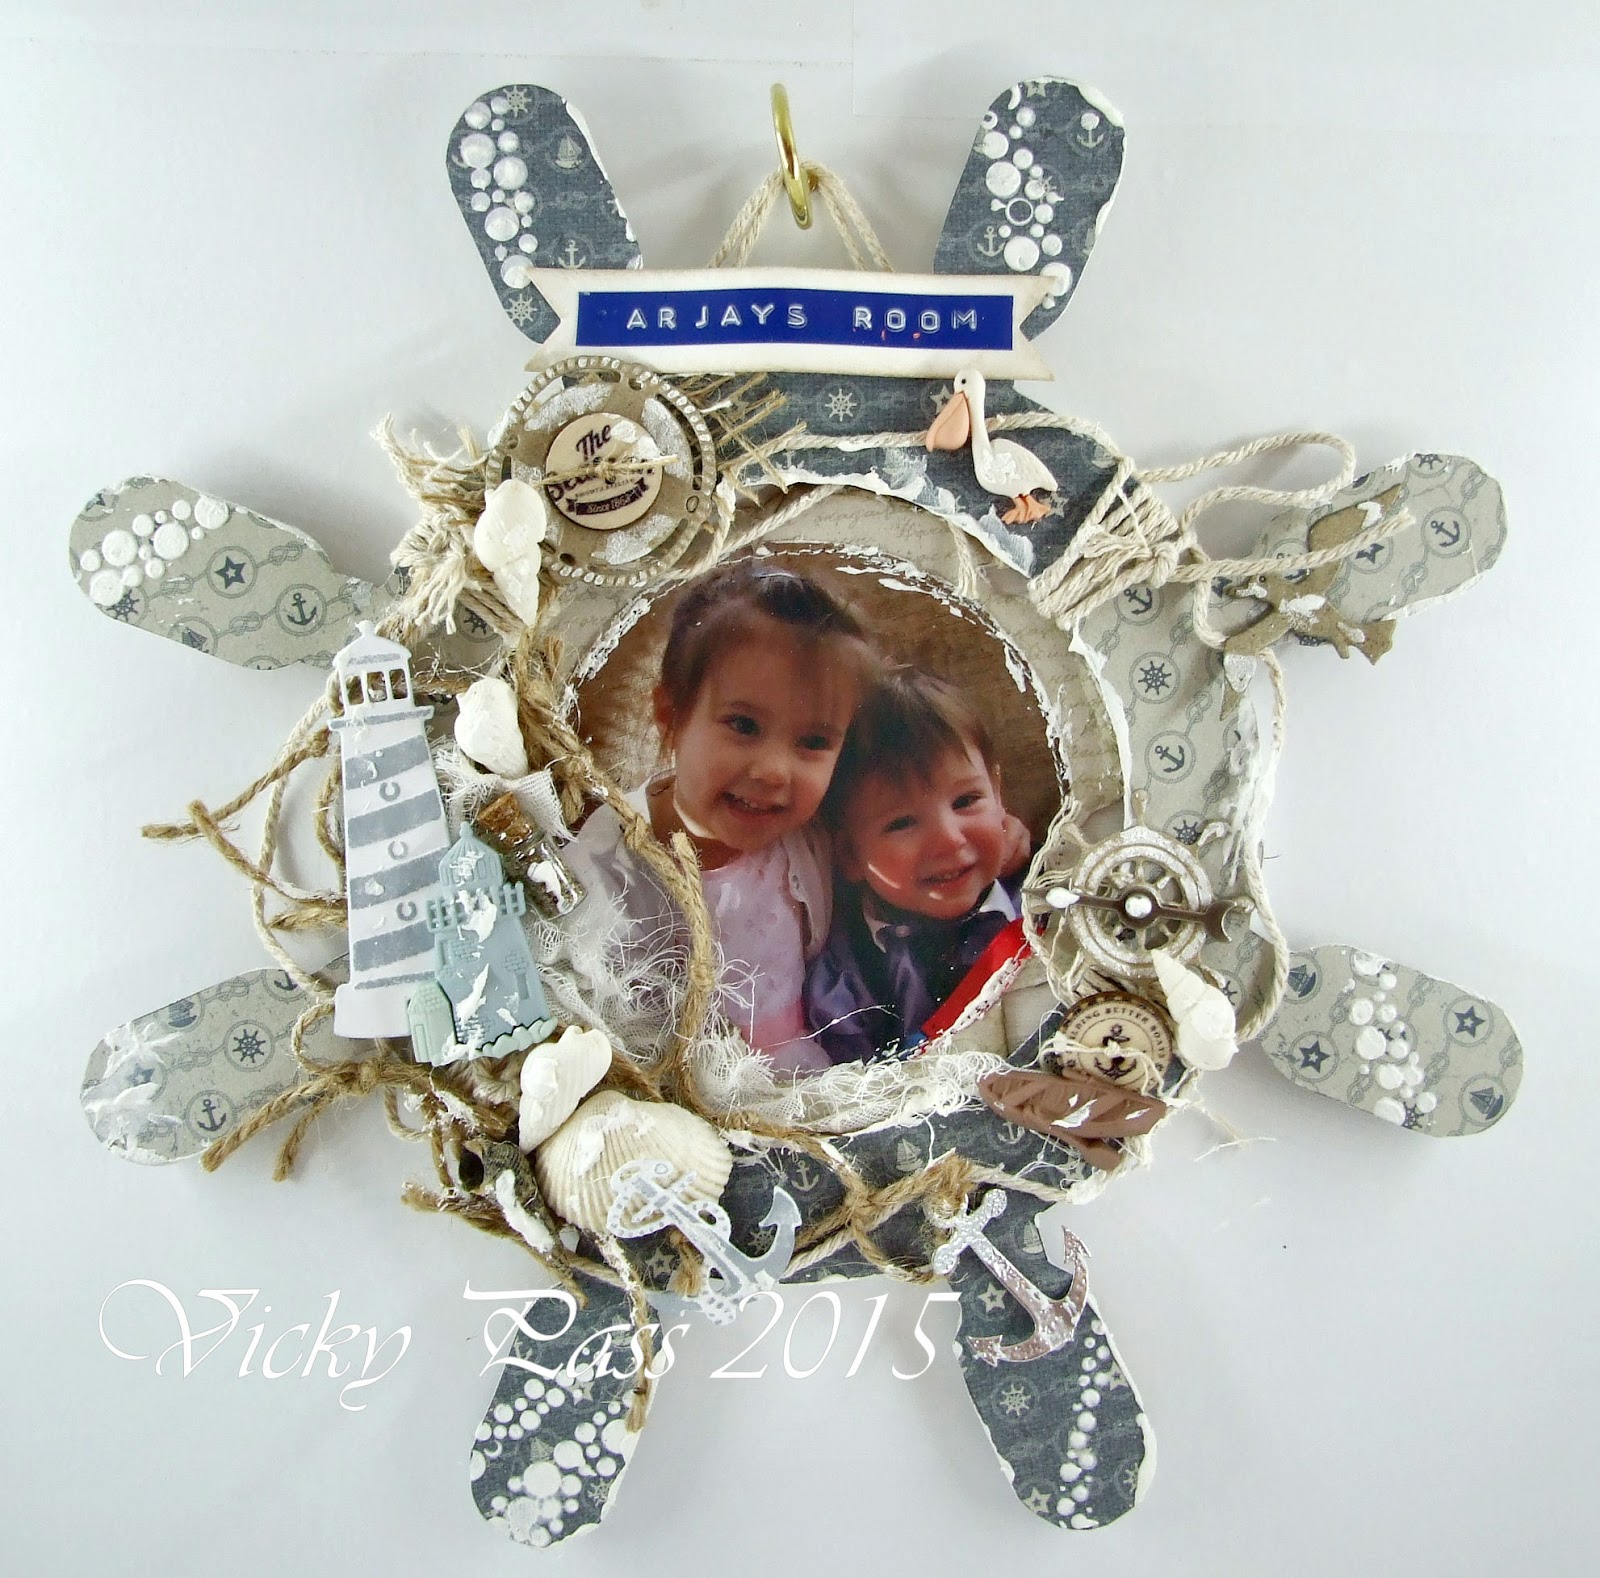
Today I will show you something I made for my grandson's bedroom. He's mad about Jake & The Neverland Pirate's bless him. Also currently he is sharing with his sister while his mum & dad renovate his bedroom, so thought I would make him this ready for his new room when its finished.
So I've used one of the AWESOME Dutch Doobadoo MDF Art Ship's Steering Wheel.......I loved, LOVED doing this & I will be ordering more. They also would make great gifts ;-)
Links to items used at the bottom or in RED writing.
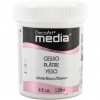
The inside circle I painted first with Gesso then cut out a circle in the dp & the photo using the Shape Art Circle. I distressed the edges on everything & then ran it through the sewing machine. So there are bits of the white background peeping through here & there.
The outside of the wheel I used another 2 sheets of the All At Sea paper.

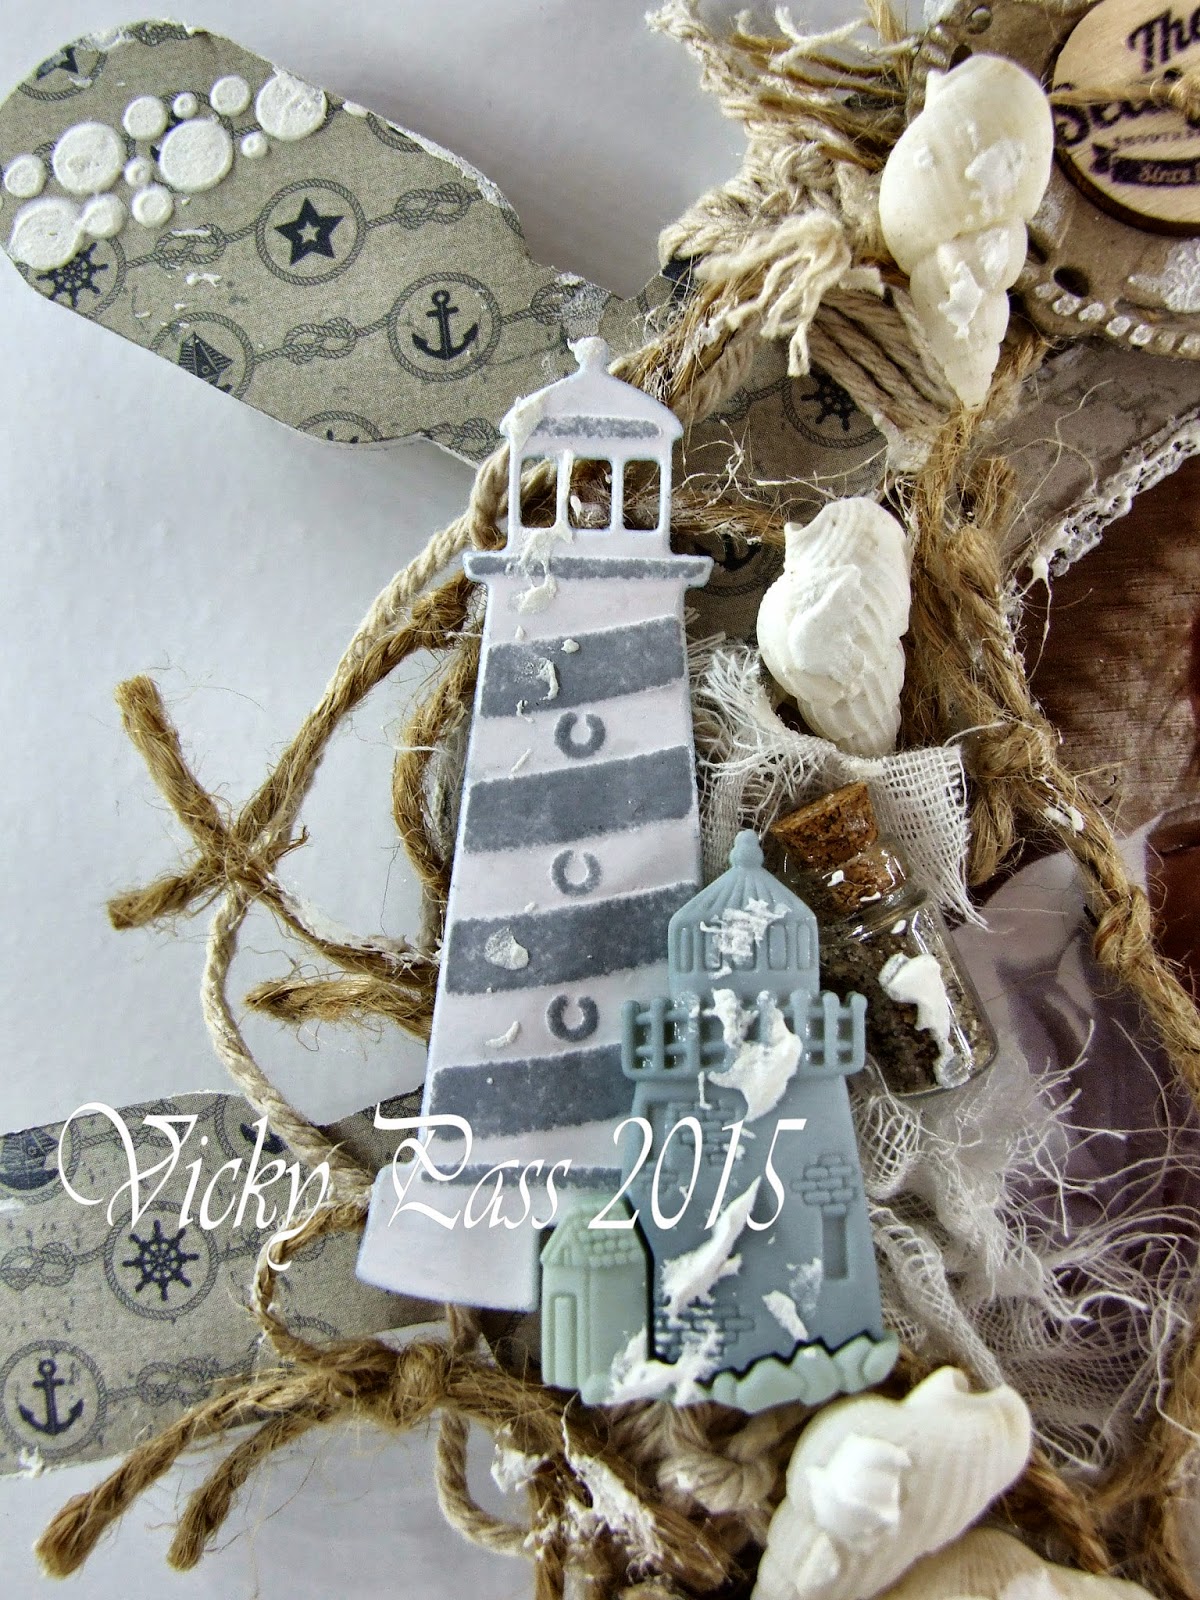
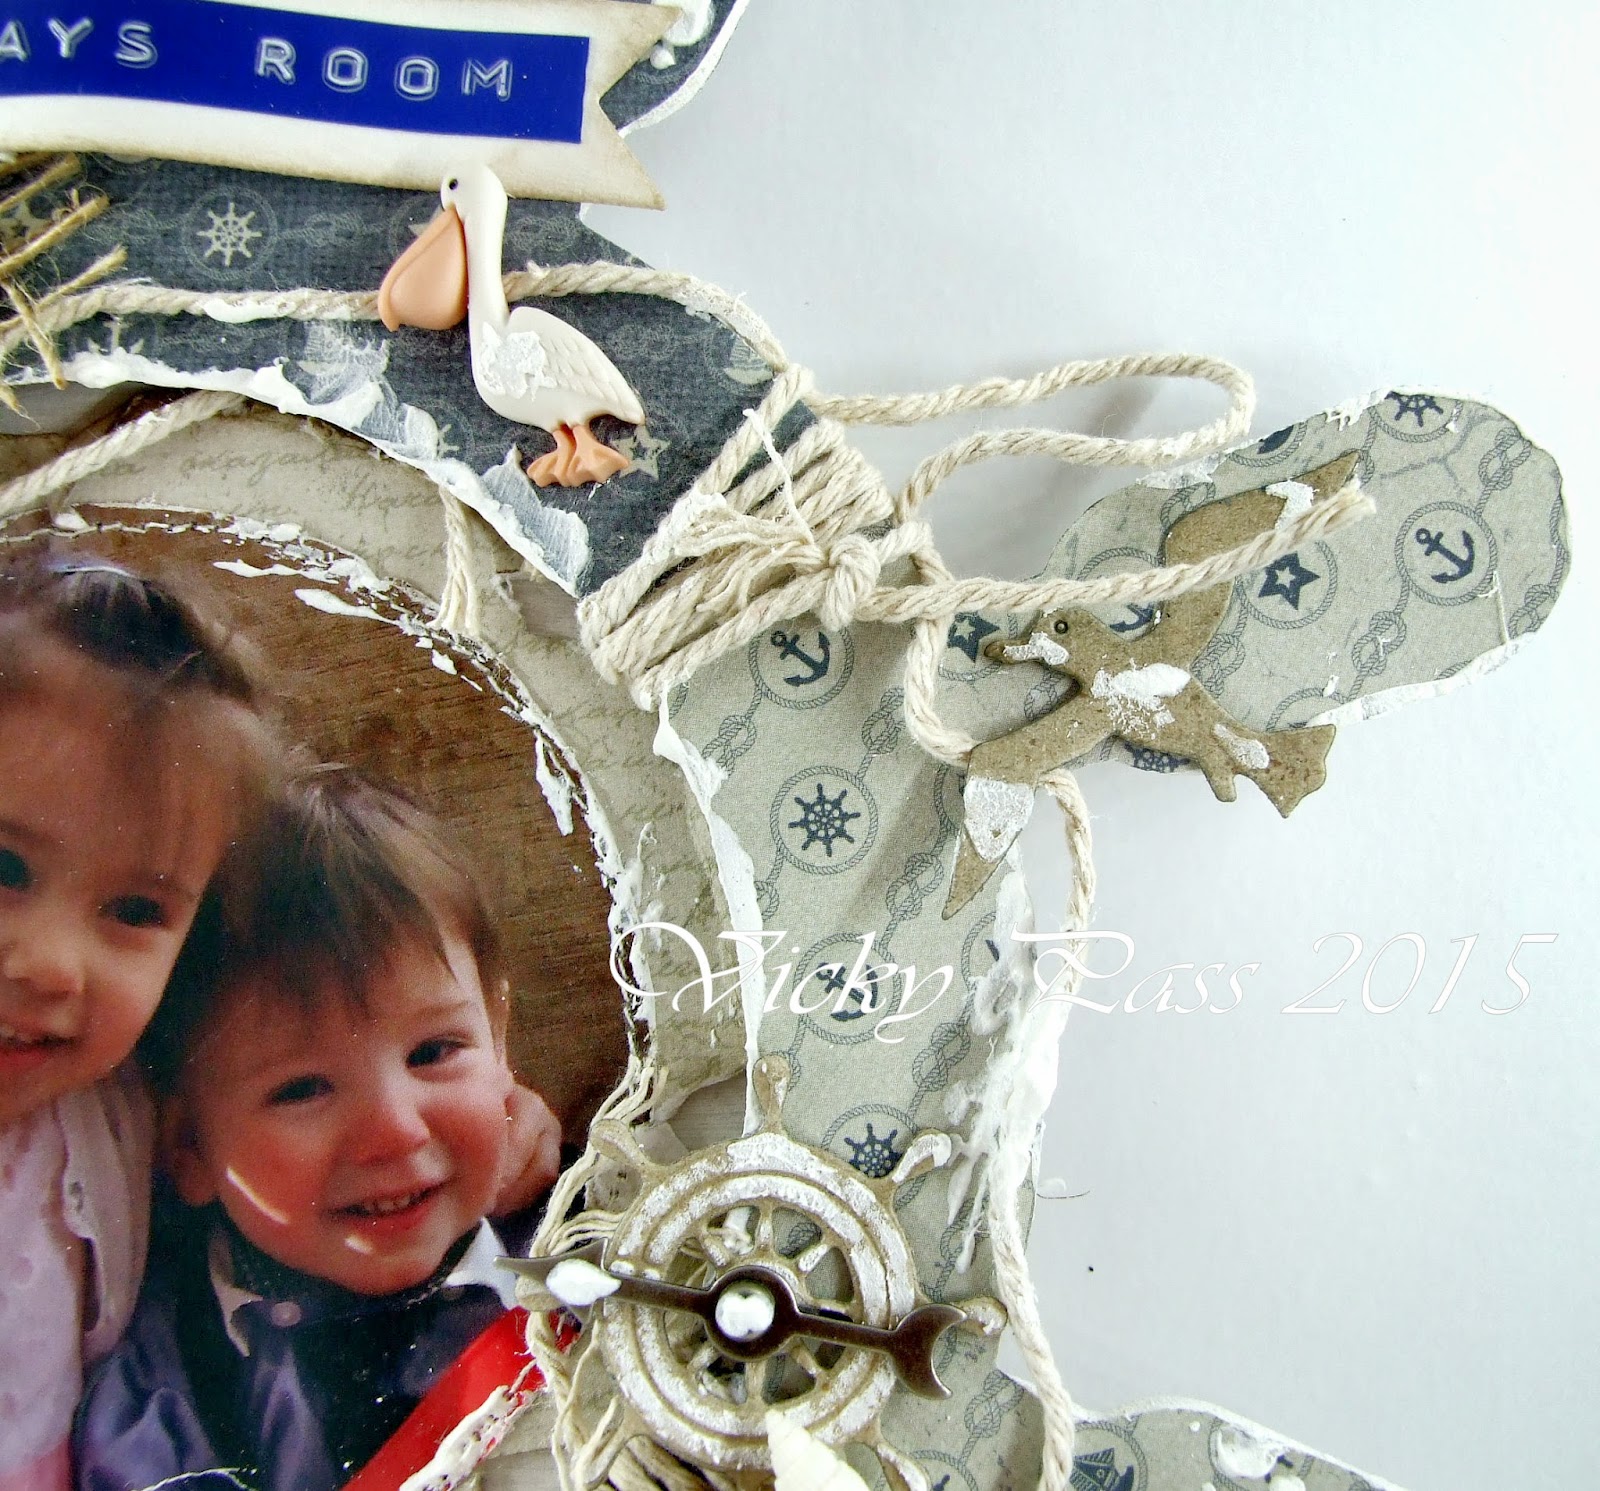
I used the Lighthouse & Gull die, I inked parts up with weathered wood distress ink.
I also used the A5 Wavy Stripes Mask Art with structure paste here & there.
Also if you look next to the lighthouses there is a small bottle which has sand in from the beach we live next to........yes we are very lucky as the sea is 5 minutes walking distance away from us.

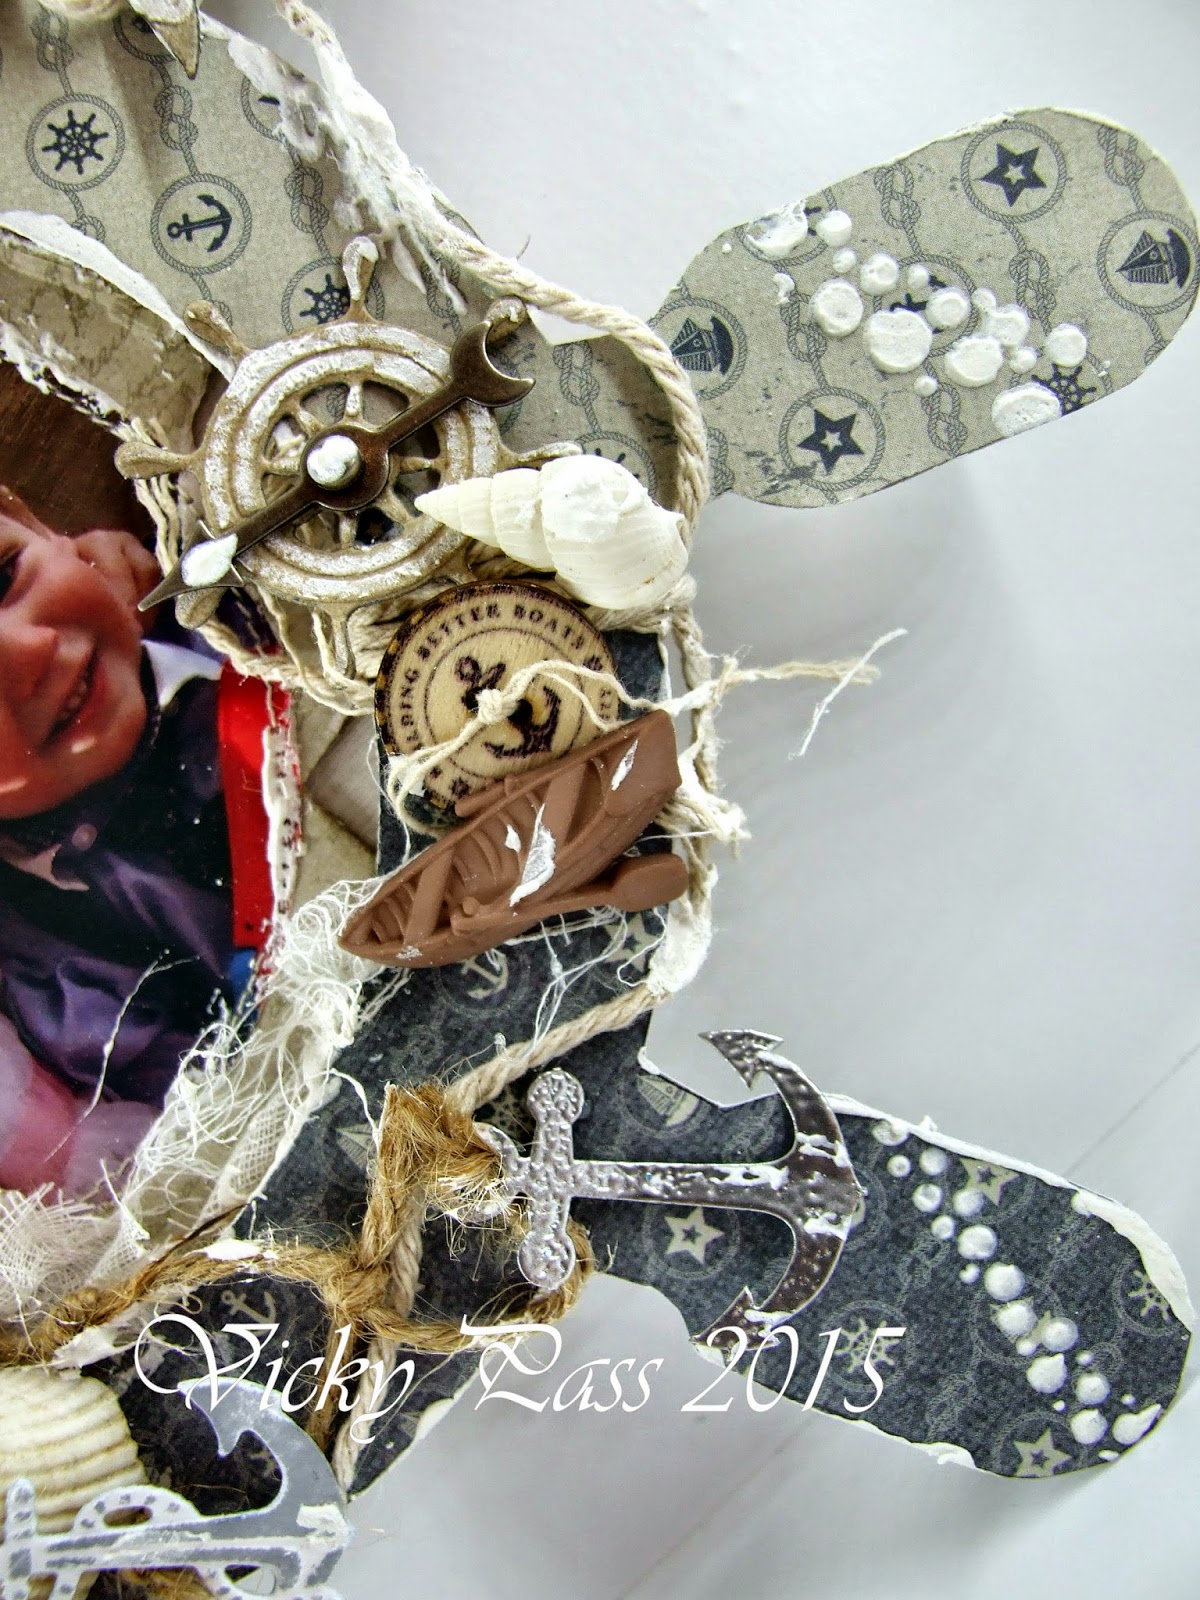
I've also used the Anchor, Steering Wheel & Lifebuoy Die, above you can see the Steering Wheel cut from Kraft & had structure paste added.
The Anchor I cut from the paper art A5 Nautical set & then heat embossed it with silver embossing powder.
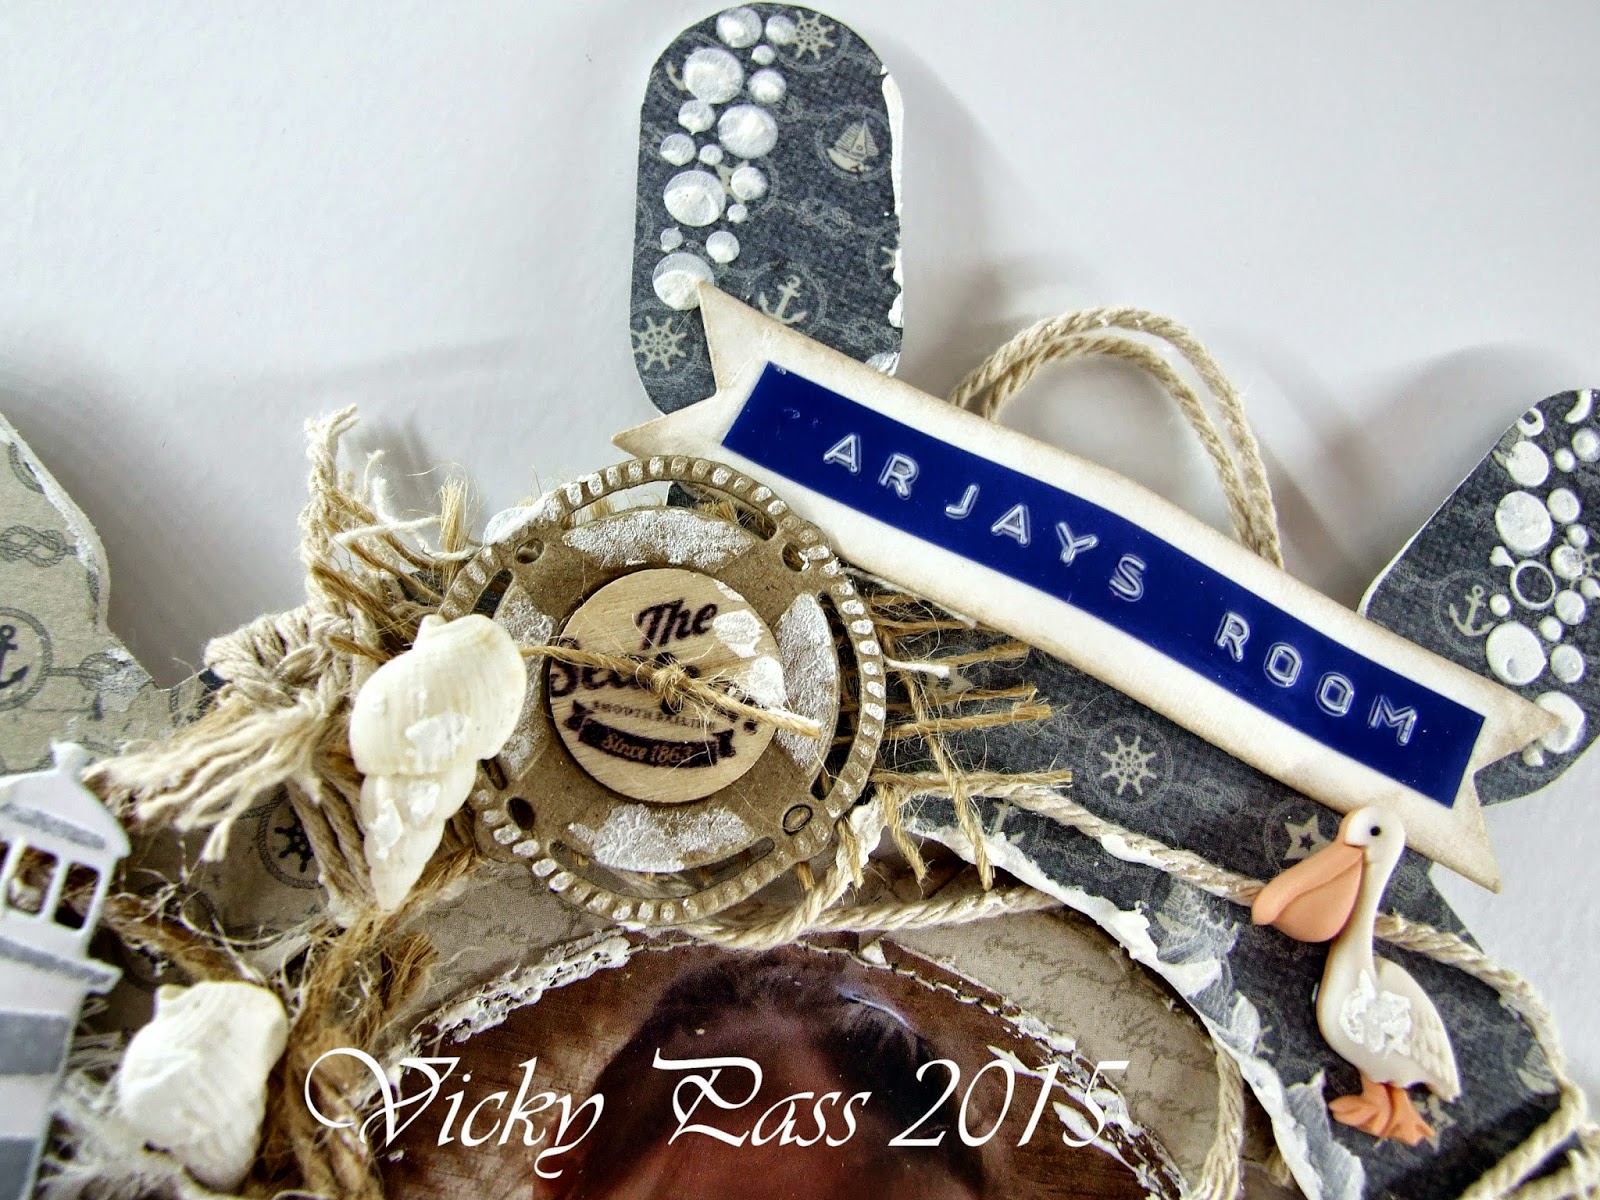
Here is the Lifebuoy cut out from Kraft card & structure paste added. I layered it onto burlap & added a button to the centre.
The hooped string at the top you can see is where I created the hanging hoop for his wall. I've used the banner die to add his name to.

I also added a Tim Holtz Spinner from Live & Love Crafts to the centre of the wheel, its lik eit repressents a compass ;-)
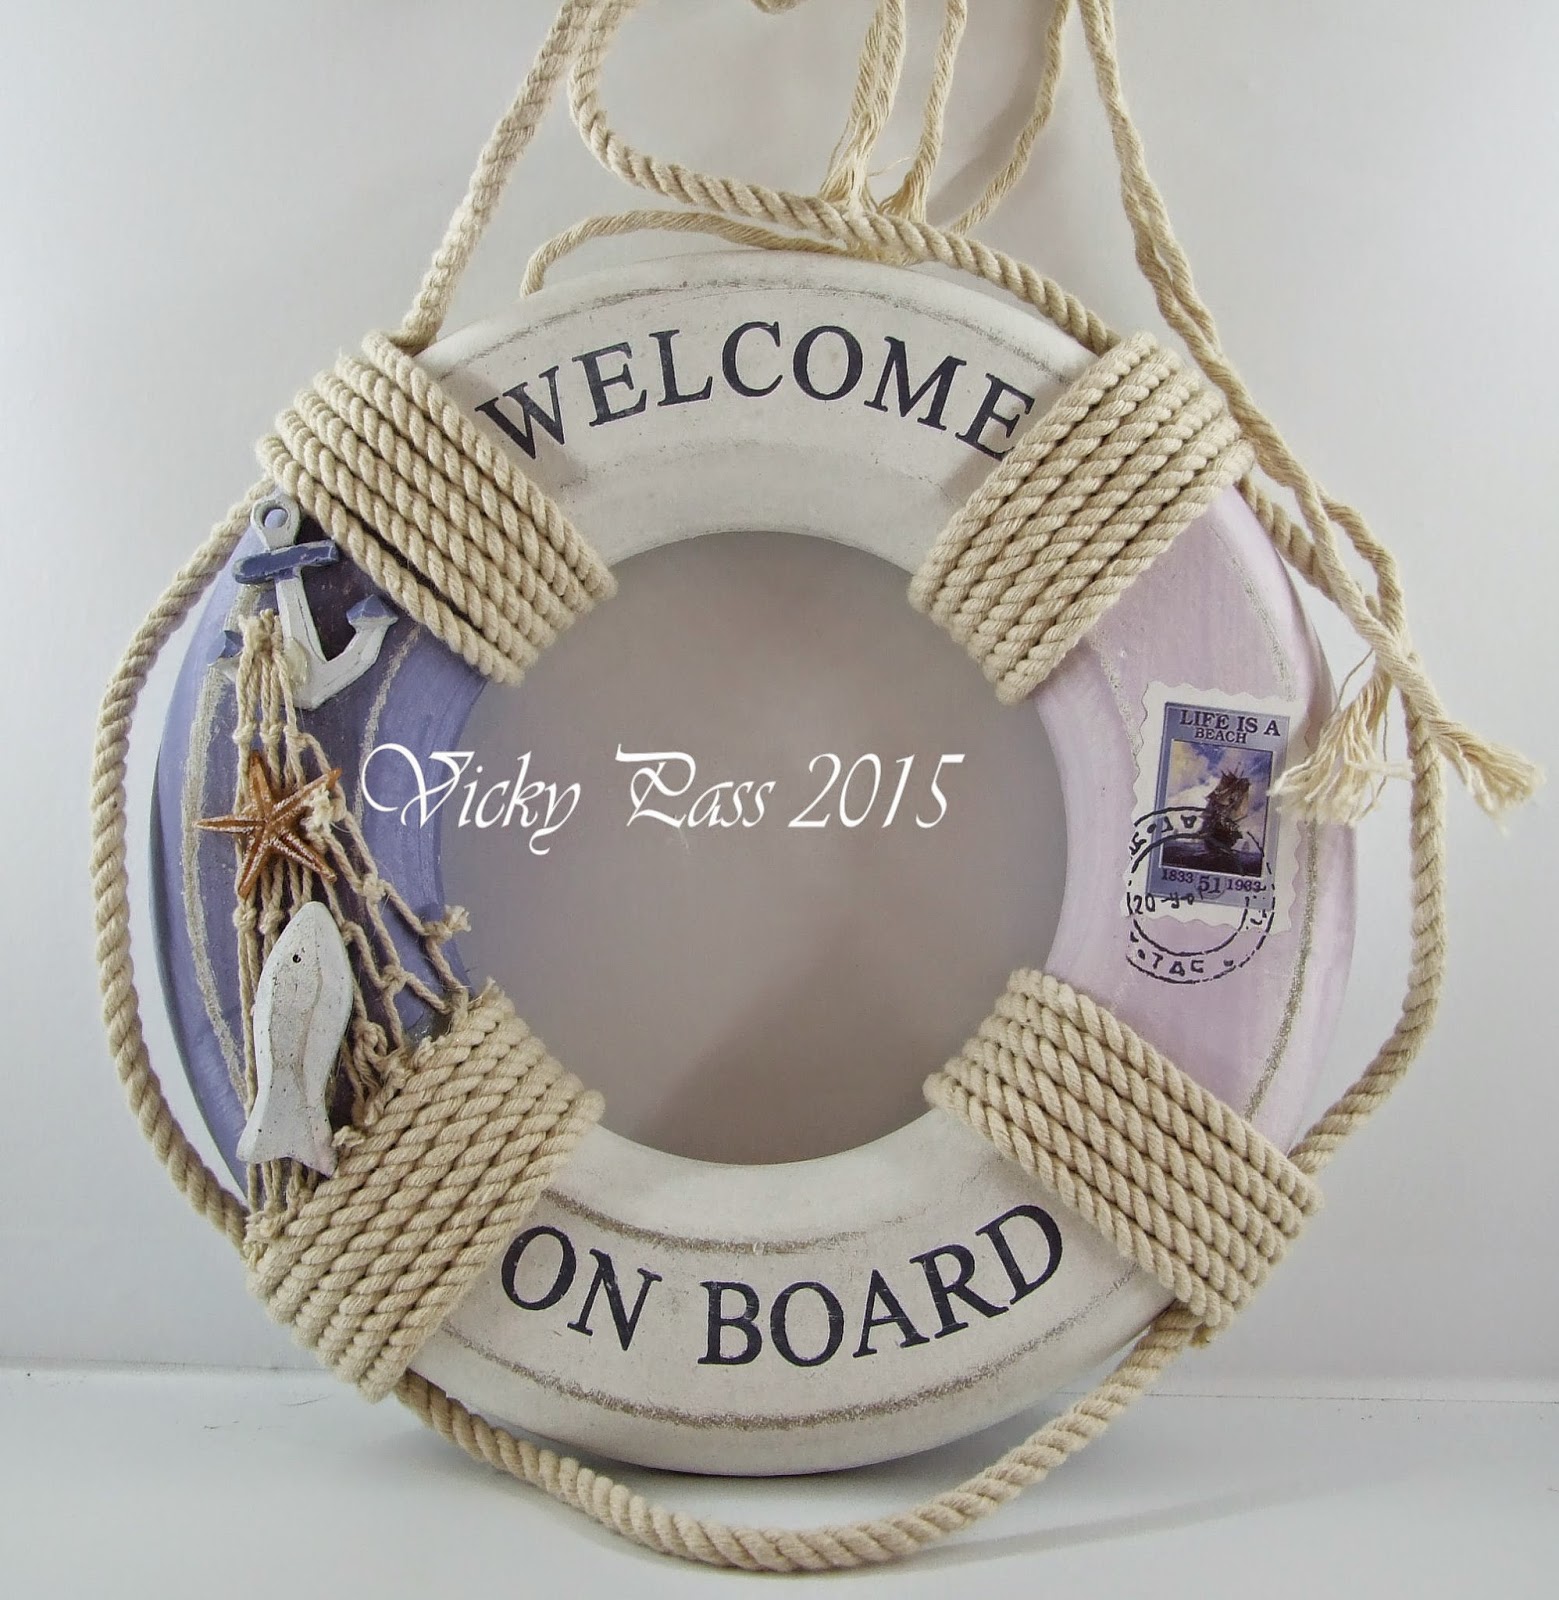
Where each different paper meets I wrapped string around before attaching the back. I got the inspiration for this from something I have in my own bathroom...........
I have 2 of these, one in my shower/wet room & another in my bathroom. However it may go into Natalie's when its finsihed lol. These are so pretty IRL & of course match me & shabby chic perefctly of course lol.

Here you can see it hanging up on a hook.
There are different textures to this, 2 different types of string, Burlap, Cheese Cloth from LLC. The nautical buttons & small shells are also from LLC. The larger shells from the local beach.
The photo is of my grandson Arjay with his sister Payton, it was taken last month in my conservatory.
 I love making gifts for my family & Dutch Doobadoo & Noor Design make it sooooooooo easy with their awesome range of products.
In the post below is another item I made for my daughter using another Dutch Doobadoo product, or click here.

Well that's it from me, hope you like my creation today.
Take care & hope you have a good day.
Lotsa hugs xxxxxxxxx


The products used can be ordered in the Noor! Design U.K. webshop: